Quarantine Beauty: 9 Professional Beauty Services You Can Do at Home

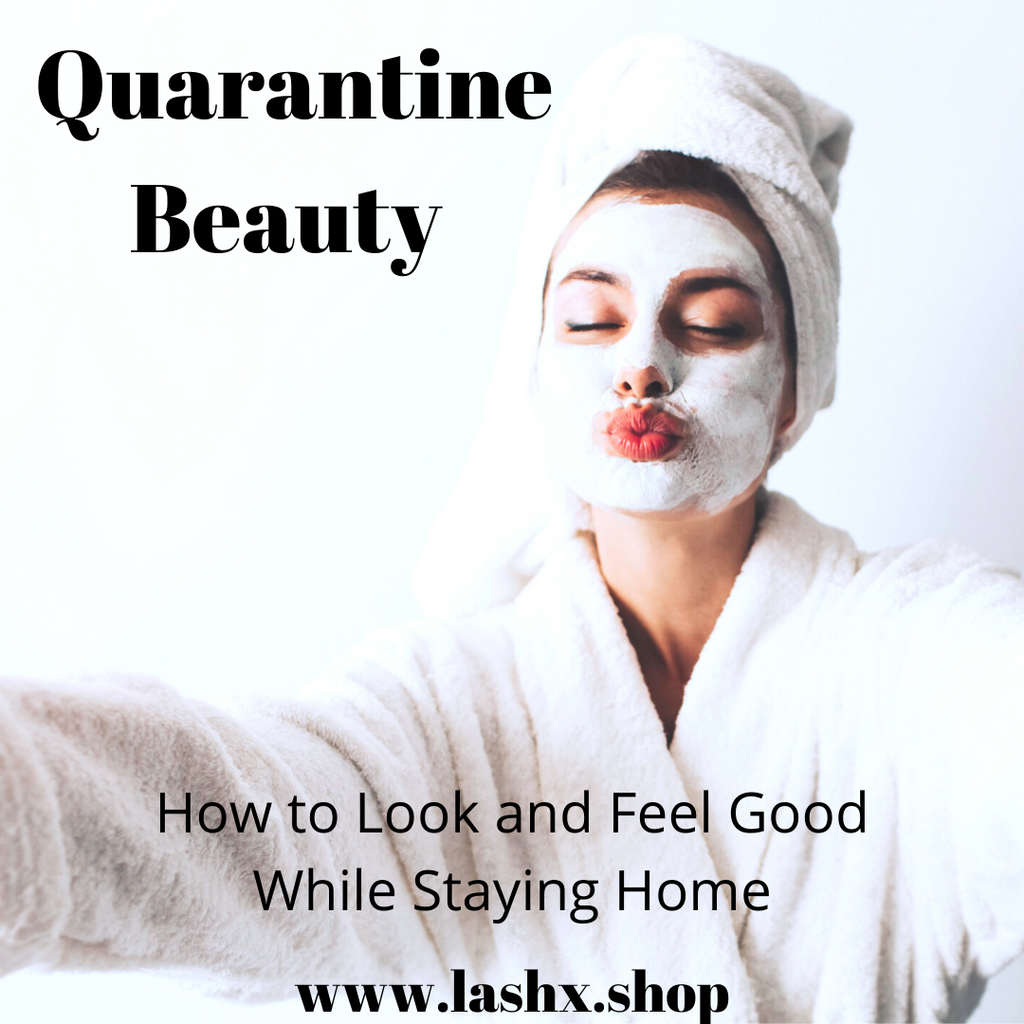
As our quarantine time extends the need for beauty help is getting more and more real. How do we look and feel good, and just maintain basic hygiene when we can't leave our homes? Here are some tips and at home alternatives to all of your favorite beauty services. Let's use this time as a beauty boot camp. Here are 9 services you can do for yourself today to look and feel like yourself again!
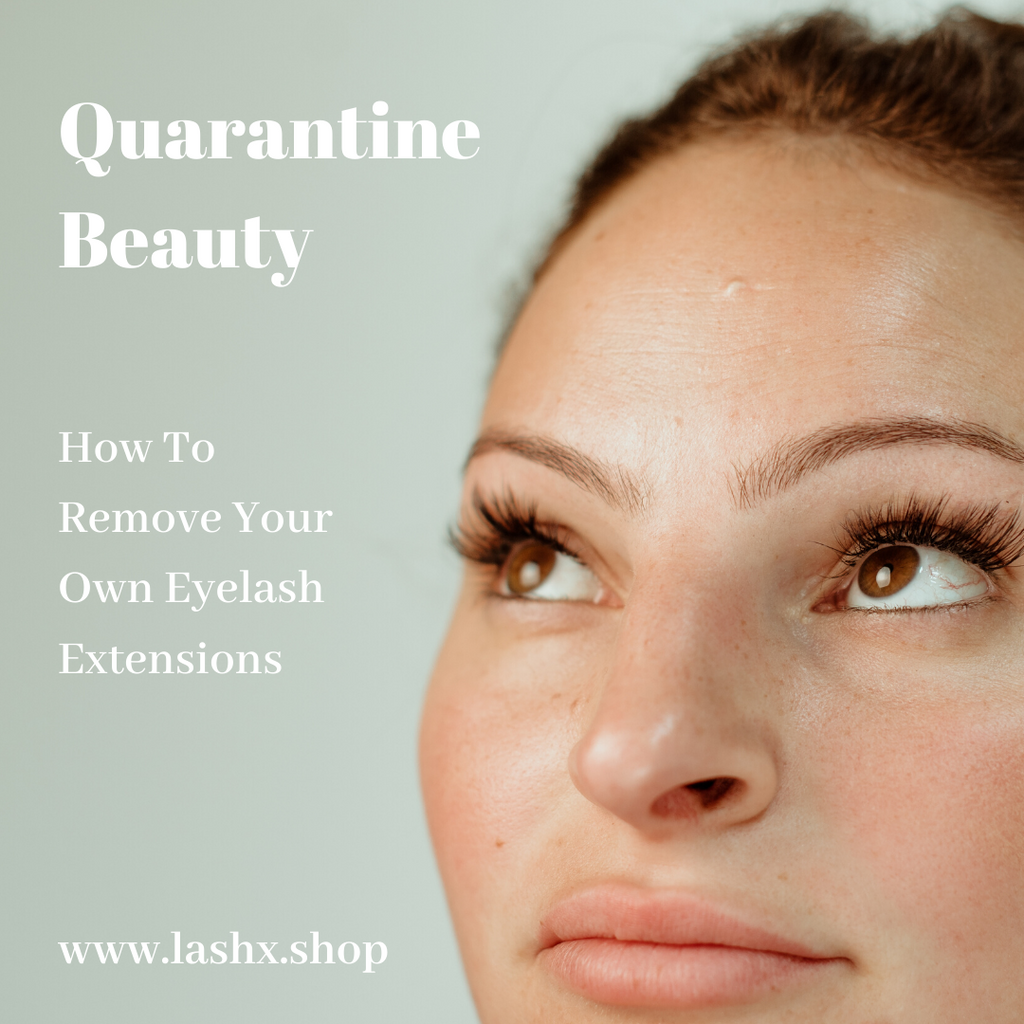
1. Your lash extensions - comb overs no longer will cover
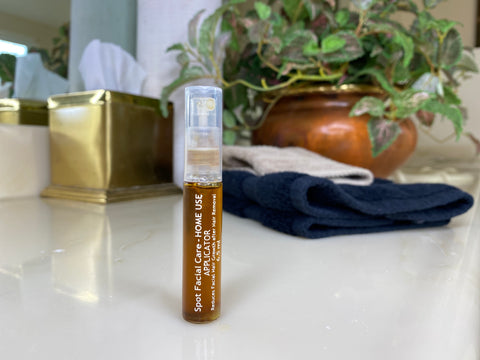
You have a few options here, You can remove them SEE HOW
Cover them or hide them. To cover them you can put some false lashes above the lash line or fill in between with temporary clusters. Or, my personal favorite technique is to do a dramatic eyeliner with black liquid eyeliner.
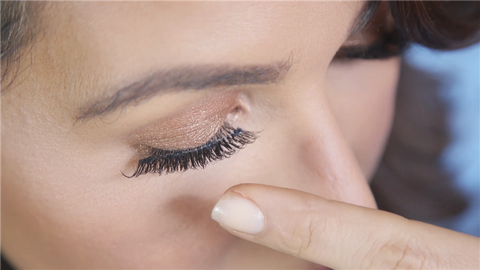
Whatever you decide, I think it's the best time to do a lash and brow re-boot. Use the LAshX ProLine daily to triple natural lashes and brows, safely, so that you will have longer thicker and fuller natural lashes and brows to work with when salons open back up.

2. Injectible and filler like results
You can't get botox or fillers
For fuller lips try Buxom Lip glosses for a natural plumping effect.
For fine lines, LightStim is the next best thing, in my book. You can use the at home device and it literally makes your lines disappear, and you sleep better. Quite frankly I have needed it to fall asleep after the stress of this crisis. The LightStim is kind of like my fix all. I use it for my lines, to get rid of headaches, for sore muscles or pain, sleeping better, sinus pressure - everything basically. I feel about my lightstim what the guy in My Big Fat Greek Wedding felt about windex. A lightStim is about the cost of one or two facials and you will have it for life. It costs $249 and comes with a free gift of a mask and serum right now to get maximum benefits. To see your lines go away you must do it nightly for about 4 weeks. I have seen the biggest result in my smile lines and crow's feet.

The photo above is what your service might look like in a salon but I just keep my hand held plugged in and on my night stand. It makes it super easy to use before bed. The kit comes with face masks and serum that are both light activated for better results.

Here is a before and after. I saw the best results after about 4 weeks so just keep at it. Ten minutes an area, don't worry it will beep.

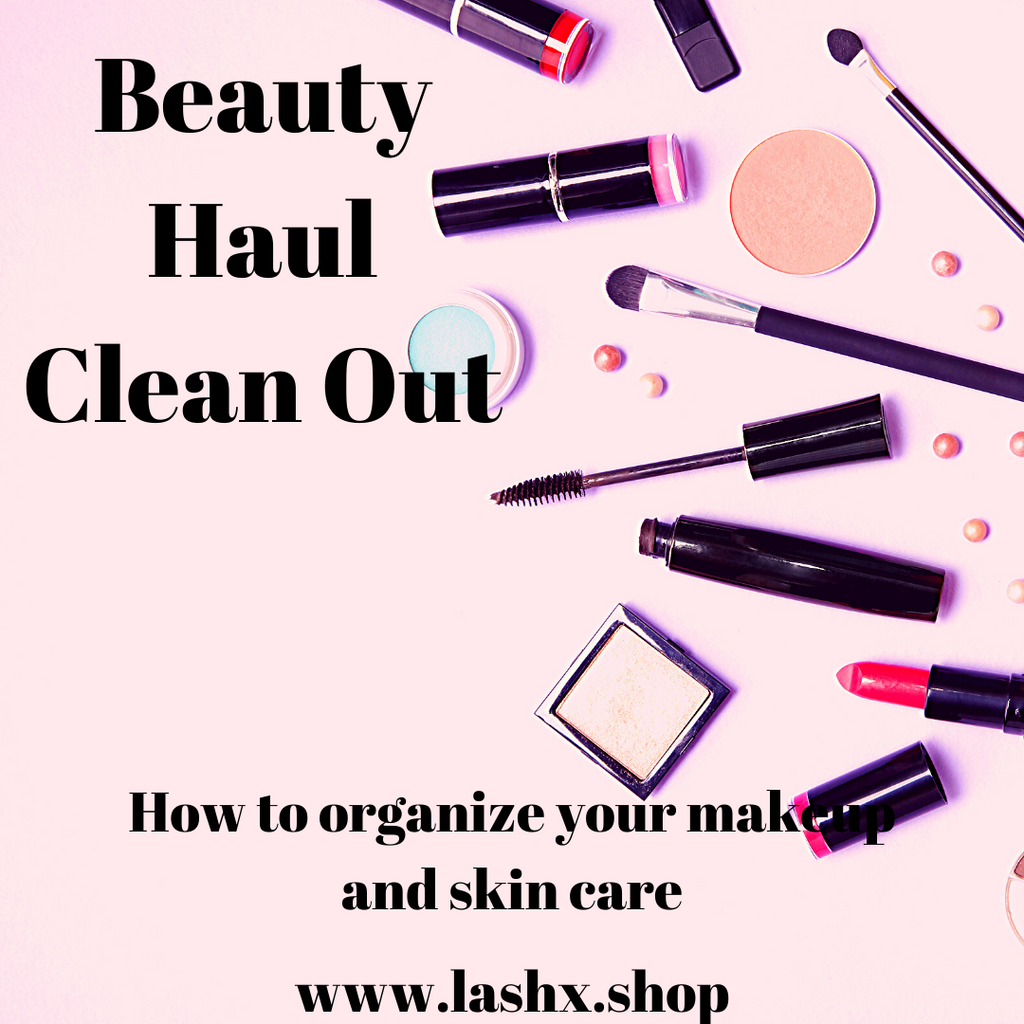
3. You need a Manicure -
I know it has been a while since we have had a manicure or pedicure. If you have left over gels or dip on your nails, like I do, the best bet is to soak them off with acetone or nail polish remover with acetone. Acetone free will not work. You can remove the nails like they do at the salon, by placing cotton that has been saturated in acetone on each nail and then rap each in aluminum foil.
You can go one step further and wrap in a warm towel around your hands if you want that "Spa" experience . Gently scrape off the polish with an orange stick or a manicure tool. If you aren't great with polish, a neutral color works best as it will not be as noticeable. You can use a regular polish or there are now brush on gel colors you can try.
I found this at home gel kit but have not tried it myself yet.
To complete your at home spa experience, use a great hand cream. I have linked to one of my favorites below. (on sale right now, 20% off friends and family for our readers). You will thank me later, oh and you will love the lip treatment, throw some of that on morning and night after brushing your teeth. You can gently exfoliate your lips with your toothbrush first!
Friends and Family sales 20% off sitewide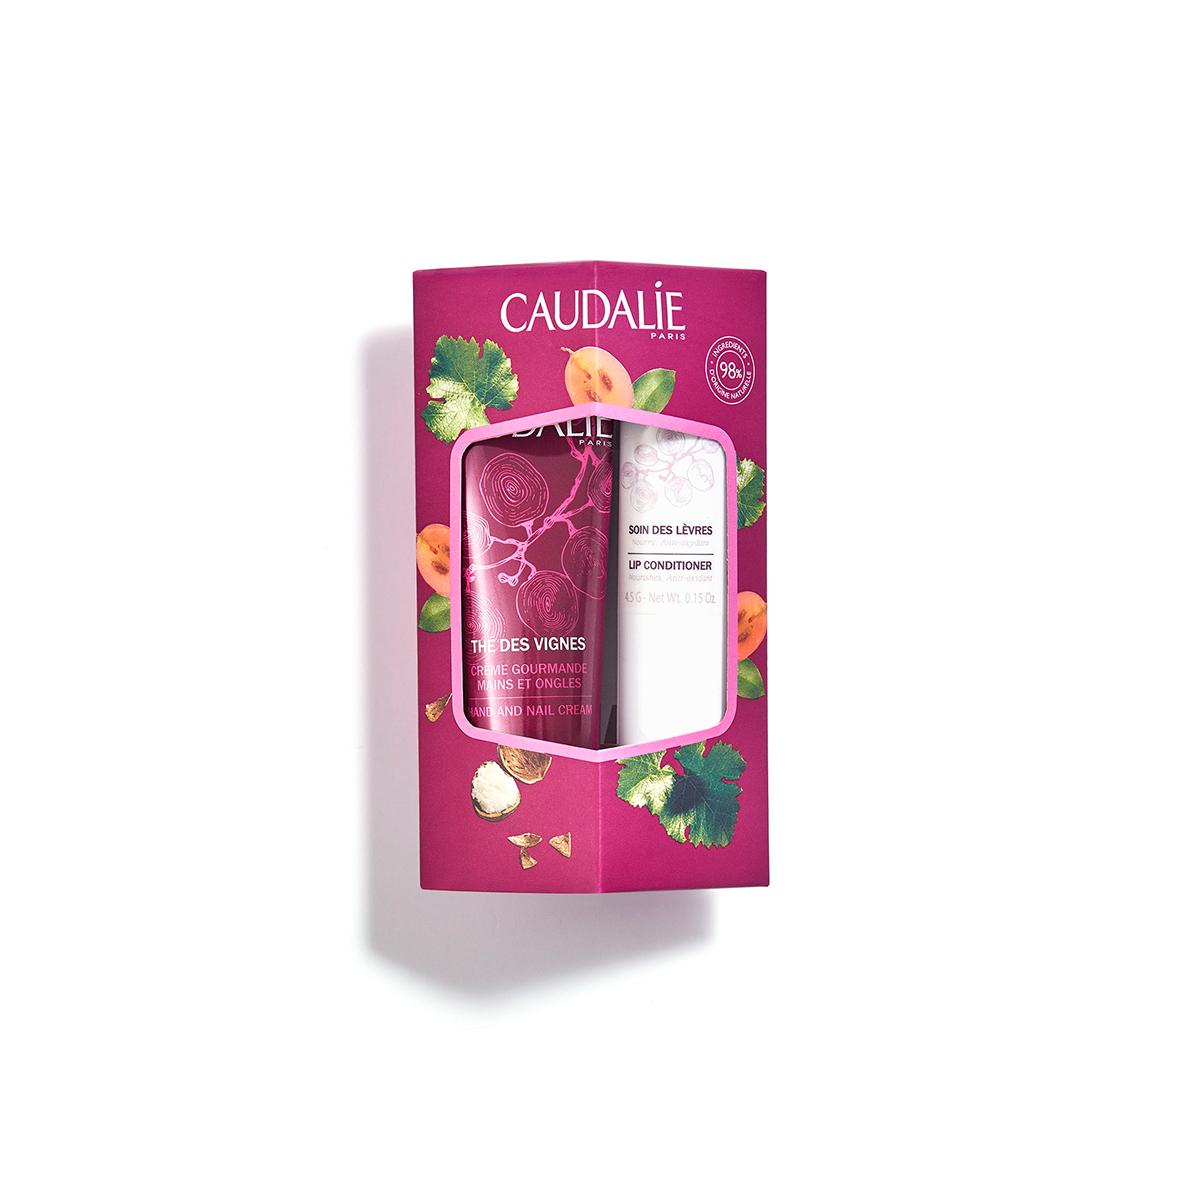
4. DIY Hair Color
5. Learn to give yourself a bangin' blow out!
Honestly, I hate blow drying my hair. I have so much hair that it takes me over an hour to get it dry. When I do take the time to do it though, I really feel like a new person. I treated myself to a really nice blow dryer, 1. because I am saving so much money not going to my stylist (Sorry Misha) but 2. because the better the blow dryer, the quicker it is and the smoother my hair comes out. A great round brush and a great blow dryer are all you need to feel like you just left the salon.
If you have medium to long hair wrap the hair around your fingers after you dry each section and pin it in mini buns to let the curl set. This will give a really natural loose curl and tons of body. The T3 is the brand most stylists use and with the purchase of this blow dryer T3 is offering a free brush set right now!
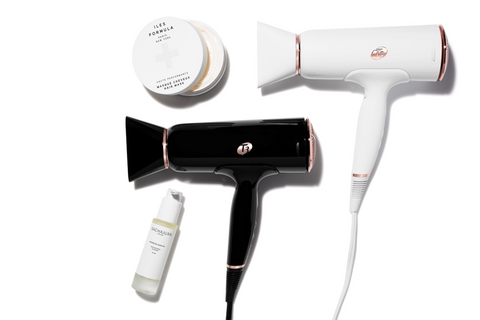
Get a free brush set ($100 value) with any full sized dryer purchase. Use Code: APRILGIFT
6. Airbrush Tan with Protection
I just discovered this product and had to share with you all. It seems like a miracle in a bottle. I have not tried it yet but wanted to share and will be ordering today! Makeup, SPF and a Tan all in one for legs and body. You can build it up for lighter or fuller coverage. It will not coNow we just need the beach to reopen.

7. Micro Needle at home safely
You were so committed to your facial appointments and your progress, now what?
If you are missing your micro needling appointments we have found a safe alternative that will give the same results. Its an at home kit by ProCell

On sale for $199 it will give you 12-15 treatments. A few reasons why I like this kit is that it is a stamp rather than a micro needle roller. Rollers can drag through the skin causing pulling where the stamp is a direct channel with no tugging or dragging. These are professional products and you will see a result. You never want to micro needle or channel before being in the sun, which for me during this beauty boot camp time isn't going to be an issue.
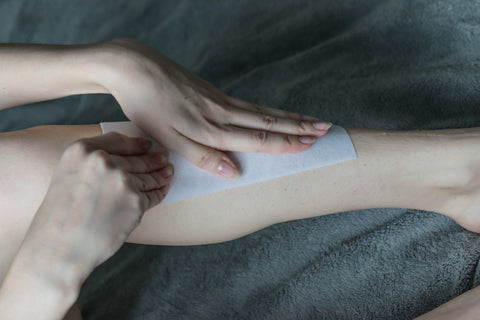
8. Hair, hair - everywhere!!
If you have some beauty savvy and want to attempt to wax yourself here are some helpful hints.
1. Get good wax - I like Ceripil Hard wax because it doesn't stick to the skin, only the hair, so it is more gentle on delicate skin and less messy.
2. If your hair is really fine, like peach fuzz, you can use soft honey wax and strips or try derma planing your face. I like this Derma Planning kit by Michael todd because it's safe and fails proof. It has a sheild so you cannot accidently cut yourself!
3. If you are going to use both types of wax do yourself a favor and get a double wax pot. Otherwise it can get messy switching wax pots out. Make sure to choose a pot that lets you adjust the temperature and is not just an on/off. You will want to keep your hard wax cooler than your soft wax. I like a dial to control my temperature.
Here is a shopping list and a link to my amazon store where I created a link to all of these products for your guys.
-Almond oil
-Baby powder
-wax pot
- wax
- strips or musslin
-popsicle sticks
-Witch Hazel/Toner
To wax with soft wax
-Clean skin with witch hazel or toner
-Lightly powder area
-Use spatula to apply a medium later in direction of hair growth
-Press strip in the direction of hair growth, leaving a couple inches to pull
-Pull again hair growth, bracing your skin to prevent bruising or pulling
Follow with oil*
To wax with hard wax
-Clean skin with witch hazel or toner
-Apply a thick layer of warm, not hot, wax with a spatula or popsicle stick in direction of hair growth
-Pull again hair growth with the stick or your finger.
-Finish with almond oil*
*If you are going to do the Epi-Free hair removal below skip the oil
9. For more permanent hair removal results - aka laser removal results
Try the Epi-free at home kit. It's basically like getting laser. Natural herbs prohibit hair regrowth. Simply rub on serum right after waxing to "kill" the hair follicle and prevent the hair from growing back. Because of the number of hair cycles, you will need to repeat this process for about 6-8 wax cycles. The benefit is each time it will get easier! Hair will come back finer and lighter with each treatment.
I hope this helps some of you feel like yourselves again. I am always available for questions and or comments below. These are my honest opinions and view points and I do get compensation if you buy things from some of the links included in this blog. I appreaciate you using links when you are going to purchase something anyway because its helps us get you guys exclusive discounts. My goal is to give you some easy ways you can take care of yourself at home. The links and products I refer to are all products I have tested and use, unless noted.
Stay Safe, Healthy and Beautiful,
Mandy


mqwjezlytt —
Muchas gracias. ?Como puedo iniciar sesion?